Last updated: October 24, 2026
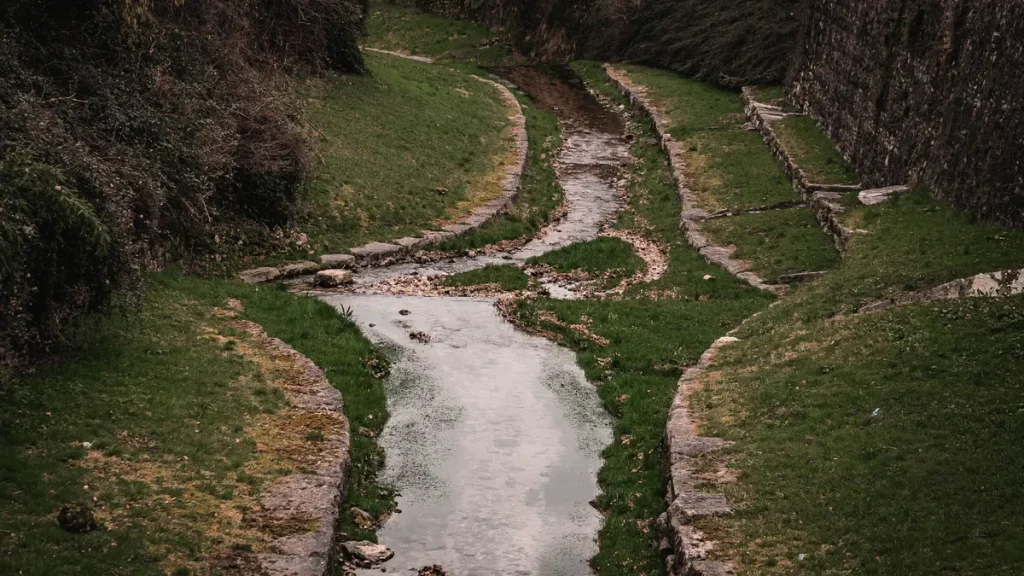
Quick answer: a dry creek bed usually works best when it has one defined inlet, one clear outlet, and a planned overflow path, with larger rock at the inlet and smaller river rock in calmer sections. This guide on How to Design Dry Creek Beds That Handle Storm Water explains how to shape the channel so it carries runoff safely instead of just looking like a stream of stone. The real job is to collect runoff from downspouts or swales, carry it through a defined channel, and release it without washing out the yard.
Key takeaways
- Start with the water source and the exit point, not with stone.
- A dry creek bed needs a gentle fall, a clear bottom, and a path for overflow.
- Use larger rock where flow is fast and smaller river rock where the channel is calmer.
- Catch basins and downspouts belong at the inlet if roof water is part of the problem.
- The bed should look irregular, but the water path should be intentional.
- This is not the right fix for every yard; if water has nowhere to go, a dry creek bed can make flooding worse.
Start with the water path, not the rock pile

A dry creek bed works only if the water has a defined route from inlet to outlet. Before choosing any rock, walk the yard after a rain or trace the roof runoff path from a downspout, swale, or low spot to the place where water can safely disperse.
The first question is simple: where does the storm water come from, and where can it leave without causing damage? A bed that starts under a downspout and ends in a lawn edge may work in a small storm, but if the outlet sits in compacted soil or against a fence, the water will back up. That is why the layout comes first.
Look for these three points:
- Inlet point. This is where water enters, often from a downspout, a catch basin, or a shallow swale.
- Main channel. This is the run of the bed where water should follow the lowest line through the yard.
- Outlet point. This is where water spreads out, enters a planted area, or discharges into another approved drainage feature.
If the bed is only decorative, it can sit almost anywhere. If it must handle storm water, it needs slope and continuity. A bed that looks attractive but has no outlet is a trap, not drainage.
A useful rule is to shape the channel so water stays inside it during a normal rain, then spills into a planned overflow route during a heavier storm. That overflow route may be a swale, a broader planted depression, or another drainage path. The point is not to force every drop through the creek bed; the point is to keep water from cutting across beds, patios, or foundations.
How do I lay out a dry creek bed for storm water?
You lay it out by marking the high point, the low point, and the overflow path before digging a single shovel of soil. This is the step that determines whether the bed drains or fails.
Use a hose, stakes, marking paint, or string to sketch the route on the ground. A typical residential dry creek bed is often narrow enough to read as a feature and wide enough to guide water, but the exact width depends on the runoff volume and the space available. For a modest roof runoff line, the creek can be a slender ribbon; for a yard that receives sheet flow, it may need to widen in the middle.
Here is the order that makes the layout work:
- Mark the inlet and outlet. Place the inlet at the point where water actually arrives, such as a downspout or catch basin, and the outlet where the water can slow down. When this is right, the bed ties into the yard’s drainage pattern instead of fighting it.
- Set the slope. Give the channel a gentle fall so water moves through it. The exact slope depends on site conditions, but the bed should not run flat or climb uphill. When the slope is right, water leaves the inlet without ponding for long.
- Sketch the curve. Use a slight bend instead of a straight shot. A natural curve slows water a little and creates room for rock sizes to vary. When this works, the bed looks like a creek, not a trench.
- Plan the overflow route. Mark where excess water will go during a larger storm. That route should be lower than the adjacent grade and should not aim toward a foundation, driveway, or neighboring lot. When the overflow is set, the system has a backup path instead of a failure point.
- Check the low spots. Walk the line after a watering or light rain, then adjust the grade where puddles form. When the shape is right, water will follow the channel rather than spread across the yard.
The most common mistake here is designing from the center outward. That leaves the inlet too high, the outlet too shallow, or the whole bed too level. The fix is to start at the water source and finish at the discharge point.
Dig the channel to carry water, not just hold stone
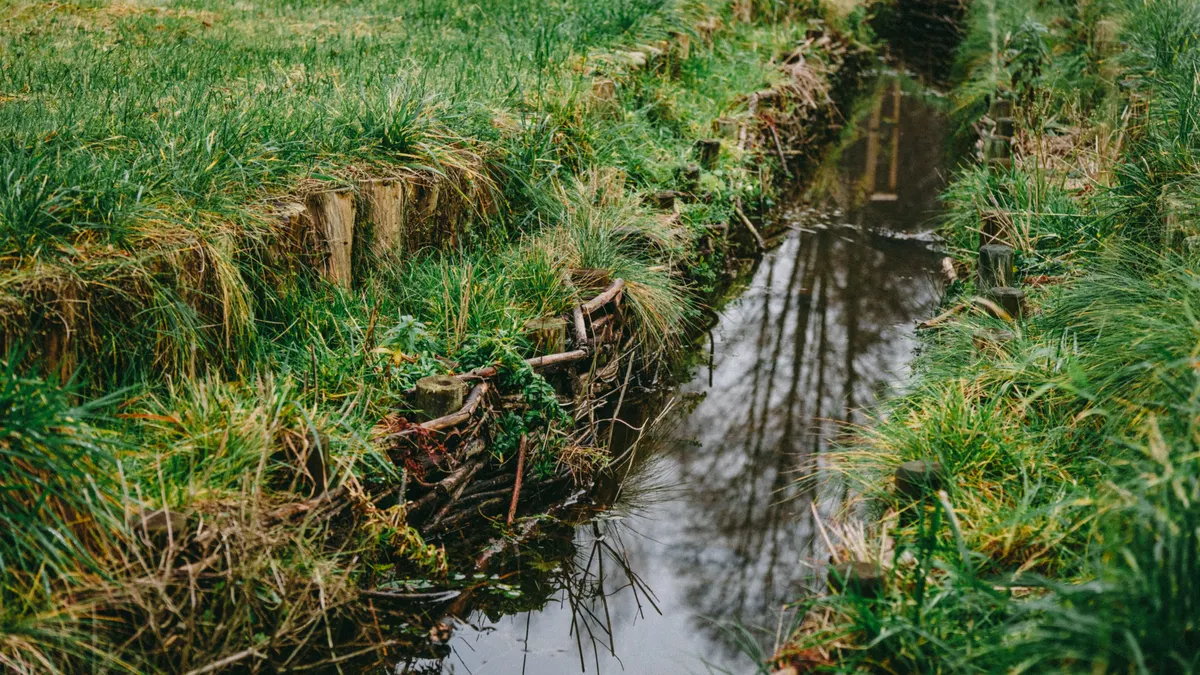
You dig a dry creek bed deep enough to guide flow and shallow enough to stay safe and manageable. For most yards, a moderate channel depth works better than a dramatic trench, because the goal is stormwater movement, not a ditch.
The channel should create a distinct path with sides that are stable and a bottom that is lower than the adjacent grade. If the bed is too shallow, fast runoff jumps out of it. If it is too deep, the feature can collect debris, make mowing awkward, and look like a scar in the yard.
A practical digging sequence is:
- Remove sod and topsoil from the marked route.
- Shape the bottom so it follows the intended slope.
- Pack down soft spots so the channel does not settle unevenly.
- Test the grade with water from a hose before placing stone.
The excavation should also reflect the type of flow. A channel that receives roof water through a downspout may need a more defined inlet than one that simply intercepts yard runoff. If a catch basin feeds the bed, the basin should sit where debris can be trapped and cleaned before it clogs the stone bed downstream.
This is also the stage to decide whether the bed needs small terraces, short drop areas, or a wider basin-like section in the middle. Those changes are useful where flow speeds up on a slope. A straight, uniform trench can send water too quickly downhill. A widened area can slow it, spread it, and reduce erosion.
A dry creek bed is the wrong choice if the yard has no safe outlet or if the site floods deeply during major storms. In those cases, the bed alone will not solve the problem, and it may just move water from one trouble spot to another.
Choose stone sizes that move water without washing out
The stone mix usually works best when larger riprap or boulders sit where flow is strongest and river rock sits where the water should slow down and spread. Stone size matters because it controls how the bed behaves under storm water, not just how it looks.
At the inlet, larger rock helps resist impact from fast water coming off a downspout or from a concentrated swale. Riprap and boulders work well here because they anchor the start of the channel and break up the force of incoming flow. Farther down the bed, river rock gives the creek a smoother, more natural appearance and still leaves spaces for water to pass between stones.
A few practical choices matter:
- Boulders define edges, corners, and turn points.
- Riprap protects the areas that take the hardest hit from runoff.
- River rock fills the main visible run and helps the bed read as a creek bed instead of a drainage trench.
A common mistake is using only one size of stone everywhere. Small rock at the inlet can wash away. Oversized boulders everywhere can block the channel and make the bed look cluttered. The better approach is to let stone size follow the job each section does.
If the bed ties into a downspout, the inlet often benefits from a catch basin or splash area so roof water does not carve a hole in the first foot of the channel. That protects the bed and makes cleaning easier. If the creek bed ends in a planted area, the outlet can use smaller river rock to fan the water out gently.
The stone should also match the scale of the yard. A narrow side yard does not need giant boulders. A long slope may need heavier pieces at turns and edges so the line stays in place through repeated storms.
For technical drainage details, the Xeriscape roof, wall, and slope protection hub explains how this bed fits into a broader stormwater strategy.
Place inlet and outlet points where the system can breathe
The inlet and outlet points decide whether the bed drains cleanly or turns into a standing-water strip. Put the inlet where water is already concentrated and the outlet where it can slow down or spread out without damage.
At the inlet, a downspout should not simply dump water onto loose stone without a transition. A catch basin, splash block, or stone-lined entrance can help control the initial surge. That is especially useful when roof runoff arrives in a short burst. The purpose is to spread energy before it hits the main channel.
At the outlet, do not end the bed at a hard edge unless the water has another approved path. A good outlet might empty into a broader swale, a planted depression, or a place where the lawn can absorb the flow. If the outlet is boxed in by pavement, fencing, or compacted soil, the system has nowhere to go during a larger storm.
A useful test is to pour water into the inlet and watch three things:
- whether the water enters the bed without splashing outside it,
- whether it stays inside the channel through curves and low spots,
- whether it exits without pooling at the end.
If any of those fail, the inlet or outlet needs adjustment. The correction may be small: lowering a lip, widening a turn, adding stone at the entrance, or grading the discharge area more gently.
This is also where many decorative dry creek beds fail. They have a nice run of stone in the middle but no real beginning or end. A stormwater feature cannot stop at the prettiest part. It must start where the water comes from and finish where the water can safely leave.
What should overflow paths do in a dry creek bed?
A dry creek bed should have an overflow path because a storm that exceeds the bed’s capacity will always find one. Planning for overflow keeps water from jumping into the landscape in the wrong place.
The overflow path is not an afterthought. It is a lower, intentional route that takes excess water during heavier rain. In practice, that may be a swale beside the bed, a broadened low area, or a connection to another drainage feature. The path should be visible in the design and lower than the surrounding hardscape or planting beds.
A good overflow path does three things:
- Keeps water away from the foundation.
- Avoids directing runoff toward neighbors or paved areas.
- Handles the extra volume without erosion.
This is where the geometry of the bed matters. A straight, steep channel may carry water quickly, but it can also accelerate it too much. A curved bed with a shallow widening in one section can slow the rush and give the overflow room to spread. Boulders at strategic points can also deflect water back into the center line.
The trade-off is simple: more protection usually means more shaping. That can mean deeper digging in one section, more stone, or a wider footprint than a purely decorative bed would need. It also means the bed takes more planning than most people expect.
A dry creek bed is not the right answer if the site needs large-scale grading, retaining work, or engineered drainage. In those situations, the creek bed can be part of the answer, but not the whole answer.
Finish the bed so it works after the first storm
A dry creek bed is finished when it still looks right after a hard rain, not just on installation day. The last step is to check movement, clearances, and cleanability so the channel keeps working through the season.
After the stone is placed, run water through the inlet again and watch for three problems: stone migration, pooling, and sediment buildup. If loose river rock drifts downhill, the slope is too aggressive for that section or the stone is too small there. If water collects in a pocket, the grade needs a small correction. If sediment gathers at the inlet, the catch basin or transition area needs more frequent cleaning.
You also want the bed to be serviceable. Leave enough access to rake out leaves, lift out debris, and clear the downspout connection. A dry creek bed that cannot be cleaned becomes a clogged channel within a few storms. That is not a design flaw on paper; it is a maintenance failure in the yard.
The final look should still read as a creek bed: irregular edges, varied stone size, and a clear line of movement. But the natural version of the feature does more than look natural. It guides rain from roof, slope, or swale to a safer place and does it without turning the yard into a ditch.
Do dry creek beds need liner?
Usually no, but some sites benefit from geotextile underlayment or another barrier if the soil is unstable or the design needs extra separation from the subgrade. The liner question depends on function. If the bed is meant to drain, a full waterproof liner defeats the purpose. For stormwater movement, the channel should let water enter and leave as designed.
How deep should a dry creek bed be?
Deep enough to hold its route and shallow enough to stay practical. The right depth is the one that keeps water in the channel during normal runoff without creating a trench that is hard to maintain. In many yards, a moderate excavation works better than a dramatic one because the feature needs to move water, not store it.
What rock size works best in a dry creek?
A mix usually works best: boulders and riprap at the inlet and bends, river rock in the main run. Larger stone resists the force of incoming water, while river rock gives the bed a natural look and keeps the channel open. One uniform size across the whole bed often fails either visually or functionally.
Drafted with AI; not yet reviewed by a person.