Last updated: October 24, 2026
Quick Answer: In How to Improve Rocky or Compacted Soil for Xeriscaping, loosen the top 6 to 8 inches, remove the worst stones, and add a modest compost layer only where roots will grow.
Rocky xeriscape soil can be made plantable before installation, but the fix is usually loosening, not “making it rich.” The goal is to open enough space for roots, improve drainage in compacted ground, and keep the soil stable after planting without turning a dry site into a water-holding bed that fights drought plants. For a deeper overview, see the xeriscape soil guide.
Start by finding out what kind of bad soil you have
You need a soil test, a shovel, and a simple digging check before you move a wheelbarrow of compost anywhere. Dig a hole about 8 to 12 inches deep in a few spots across the planting area and watch what you hit: hardpan, dense clay, loose rock, or shallow gravel over tighter subsoil. For soil testing, many county extension offices can help.
This matters because rocky subsoil and compacted clay fail in different ways. Rocky ground may drain fast but leave very little root volume. Compacted ground may look fine on top and still stop roots at 3 or 4 inches. If water puddles in a hole for hours, drainage is poor. If the shovel bounces and the soil comes up in slick slabs, compaction is the bigger problem. According to USDA NRCS soil health guidance, structure and pore space are central to root growth.
A basic soil test gives you the pH and nutrient picture, and that keeps you from guessing at gypsum or compost. Many county extension offices offer soil testing, and their forms usually tell you exactly how to collect the sample. For a xeriscape site, the useful question is not “Is this soil perfect?” It is “Can roots move through it after I prepare it?”
Check the area when the soil is neither dust-dry nor muddy. Soil that is too wet smears and lies to you about structure. Soil that is too dry can hide tight layers. If the site is full of construction rubble, buried rock, or fill dirt, expect extra hand removal before any broadfork or aeration tool does much.
How do I loosen compacted xeriscape soil?
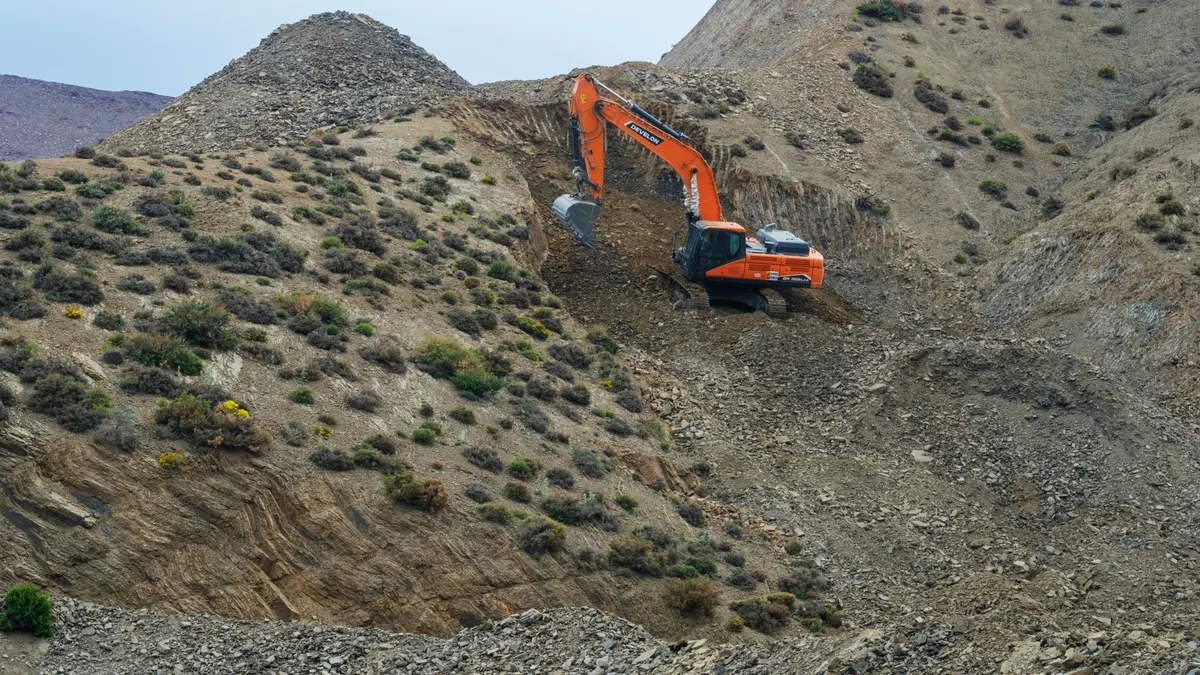
You loosen compacted xeriscape soil by breaking it from the top down with the right tool, then working amendments only into the planting zone, not the whole yard. For most home sites, that means a broadfork, a garden fork, or a mechanical aeration tool for larger areas.
Start with the broadfork on soil that is only moderately compacted. Push the tines in vertically, rock the handles back, and lift without flipping the soil over. The result should be visible cracks and lift lines, not turned layers. A broadfork is useful because it opens channels for air and water while leaving soil structure more intact than rototilling.
For smaller beds, a heavy digging fork can do the same job, just slower. Set the tines 6 to 8 inches apart, work in a grid, and overlap slightly so you do not leave dense strips between passes. If you can pull the fork up with almost no resistance after the first pass, the soil has loosened enough for amendment work. If it still feels like concrete, stop and check for a hardpan layer below 8 to 10 inches.
A core aeration tool helps on larger, fairly level areas. It removes plugs and creates vertical openings in compacted xeriscape soil. That is more useful than spike aeration, which can simply press tight soil harder if the ground is already dense. If you rent a machine, ask for a core aerator rather than a spike roller.
Do not loosen wet clay. It clods, seals, and can become smoother and tighter after you tread on it. Do not overwork dry rocky ground either; you will just chase stones and tire yourself out. The right moment is when the soil breaks into rough chunks, not greasy ribbons or powder.
What to do with rocky subsoil before planting
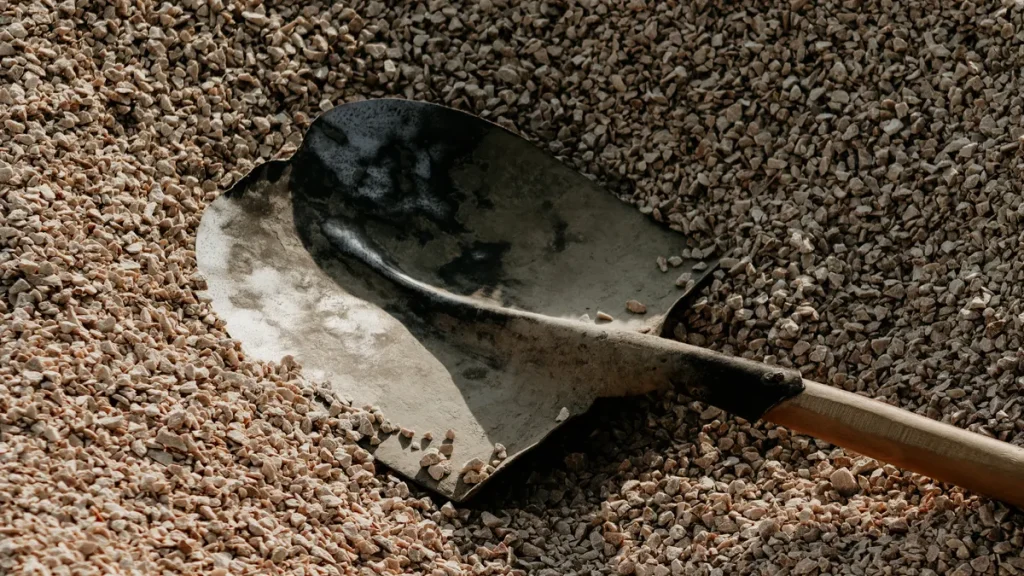
Rocky subsoil should be selectively cleaned out, not mined to a depth you do not need. Pull out the largest stones, construction debris, and sharp fragments from the planting strip first, then decide where smaller rock actually helps drainage and where it only steals root space.
A planting bed for xeriscaping usually benefits from a rougher, deeper root zone in the top 8 to 12 inches. If the subsoil is full of fist-sized rock mixed with hard clay, remove the worst stones by hand or with a square-point shovel. If it is mostly gravel and the soil between stones is still loose enough to work, leave some of it. Total stone removal is expensive in labor and often pointless in dry landscapes that do not need deep, fluffy turf soil.
The trade-off is root penetration. A shrub or perennial can work around some rock, but it cannot grow through a dense stone layer that caps the bed. That is why a shallow, well-prepared planting zone usually beats a half-dug whole yard. For trees and larger shrubs, make the planting hole broad rather than deep. A hole too deep in rocky soil can settle and leave the root flare buried.
If you hit a buried layer that looks like broken concrete, fill, or compacted base material, stop digging and use that area as a sign of site history. You may need to build the planting area up slightly rather than chasing deeper soil. In some cases, a raised planting strip makes more sense than trying to “fix” a hostile subgrade all at once.
This is one place where a generic “just add compost everywhere” article goes wrong. Compost helps the biologically active top layer; it does not erase a boulder field or a slab of fill dirt. Save your energy for the zone roots will actually use.
Where compost helps, and where it makes the wrong kind of bed
Compost helps most when you mix a modest amount into the top 6 to 8 inches of a planting bed, not when you bury a thick layer under the native soil. It improves tilth, feeds soil life, and makes hand-digging easier, but too much compost can create a pocket that behaves differently from the surrounding ground.
For xeriscaping, a thin, even layer is the safer move. Spread compost over the loosened bed, then work it into the top layer with a fork or broadfork so the transition is gradual. The soil should look crumbly and mixed, not striped. If the native soil is very rocky, compost fills the small spaces between particles and gives roots more contact with moisture.
The limit is important. A bed that is half compost and half native soil can act like a container. Water stays in the amended pocket and roots circle there instead of reaching outward. That is especially risky in dry climates where plants need to adapt to the real soil around them. For most xeriscape prep, think “top-dressing and blending,” not “soil replacement.”
Compost also costs labor. If the bed is large, you may not want to amend every square foot equally. Prioritize the actual planting zones and the paths where roots will spread. A 2-inch layer worked into the topsoil is often more practical than trying to rebuild a whole site from scratch.
Use finished compost, not raw manure or undecomposed material. Raw organic matter can shrink as it breaks down and cause uneven settling. If your soil is already loose and only slightly rocky, a light compost treatment may be enough, but Colorado State University Extension recommends matching amendment use to site conditions. If it is deeply compacted, compost alone will not open it. First loosen, then amend.
Should I use gypsum on compacted clay?
Gypsum can help some clay soils, but it is not a cure for every compacted xeriscape site. Use it only when a soil test or local extension guidance suggests sodium-related structure problems or when the clay is the kind that benefits from calcium without changing pH much. For a second opinion, consult a professional or local extension office and check the University of California Agriculture and Natural Resources guidance on soil amendments.
That matters because gypsum is often sold as a universal fix and it is not. On ordinary compacted clay, it may do little if the main problem is traffic, layering, or poor soil structure from construction. In those cases, mechanical loosening and compost do more useful work. If you add gypsum to a soil that does not need it, you may spend money without getting real improvement.
A practical approach is to test first, then choose. If the test points to a calcium amendment and the site has tight clay, gypsum can be worked into the loosened top layer. Follow the product label for application rate rather than guessing. If the soil is merely dense from compaction, skip the gypsum and put the effort into broadforking, aeration, and compost.
This is also where drainage in compacted ground deserves honest attention. Gypsum will not create drainage channels in a sealed subsoil layer. It can improve particle behavior in some clays, but it does not replace physical structure. If water still sits in the hole after loosening, the bed may need grading changes, a raised planting zone, or different plant selection.
For readers who want the broader method behind this step, the hub on xeriscape soil, amendments, and ground preparation covers the larger workflow without repeating installation details here.
Build the bed so roots can actually penetrate it
You build a usable xeriscape bed by creating a loose, shallow rooting zone with a clean finish on top. After loosening and amending, rake the bed level, remove remaining stones larger than a golf ball where they block planting, and leave the surface slightly rough so it does not crust over.
The planting holes should be wider than the root balls, not deeper. In hard ground, a hole 2 to 3 times as wide as the root ball gives roots room to move sideways into the prepared soil. The root flare should sit at or slightly above the surrounding grade. If you bury it, settling and poor oxygen movement can follow.
Mulch is part of the structure, not decoration. Spread 2 to 3 inches of mulch over the finished bed, but keep it a few inches away from stems and trunks. Mulch reduces crusting, slows evaporation, and protects the loosened surface from rain splash and foot traffic. In a rocky xeriscape, it also keeps the top layer from drying into a pan. See the mulch guide for placement basics.
Choose mulch that matches the planting goal. Fine mulch breaks down faster and improves surface soil over time. Coarser mulch stays put longer on windy sites. In either case, do not bury the soil under 6 inches of mulch; that can hold too much moisture at the base of drought plants and make maintenance awkward.
The result you want is simple: a spade goes into the bed with moderate resistance, water soaks in instead of ponding, and roots can move beyond the original hole. If you still need a pickax for every planting spot, the site needs more prep before planting day.
Common mistakes that waste time and leave the soil unchanged
The biggest mistake is rototilling rocky or compacted soil to “fix” it. It can chop up the surface and still leave a hard layer below, especially if the ground is wet or has a dense subsoil beneath. That costs time and may create a smoother, tighter layer once the soil settles.
Another mistake is mixing too much compost into too deep a zone. That can make a pocket that behaves differently from the rest of the site and encourages shallow roots. Use compost as a targeted improvement, not a full replacement for native soil.
A third mistake is ignoring drainage in compacted ground. If a test hole holds water after loosening, planting anyway is a gamble. Some xeriscape plants tolerate dry soils, but they still need oxygen around roots. A bed that stays saturated after rain is not “water-wise”; it is stressed from the start.
Do not walk on the prepared bed after you loosen it. One pass of a wheelbarrow or repeated footsteps can undo an hour of broadforking. Set boards down for access if you need to cross the area. That one habit saves more structure than another bag of amendment.
Finally, do not treat gypsum, compost, or mulch as universal cures. Each one has a job. Used in the wrong place, they can hide the real problem instead of solving it. If conditions are unclear, consult a professional or local extension service before adding more material.
How to know the site is ready for planting
The site is ready when the bed is loose 6 to 8 inches deep, the surface drains without long puddles, and planting holes can be dug without forcing the tool through a sealed layer. That is the practical standard for a dry, rocky xeriscape bed.
A simple check works well: water a small test area, wait, and see whether the soil drinks it rather than sheeting it off. Then dig one more test hole in the prepared zone. If the sides are crumbly, not glazed, and roots could plausibly move outward, the prep is enough for many drought-tolerant shrubs and perennials.
This is also the point to stop “improving” the soil just because you can. Xeriscape plants are supposed to live in lean conditions. The aim is not a rich garden loam everywhere. The aim is a workable root zone, better drainage, and enough looseness for establishment. Overcorrecting can create a bed that looks better on day one and performs worse after the first season.
If the area still has pockets of rock, that is not automatically a failure. Rocks can stay where they do not block roots. If the soil is still hard, clayy, and unresponsive after broadforking, amendment, and careful drainage work, the site may be better suited to a raised bed or a different planting strategy.
Key Takeaways
- Rocky and compacted xeriscape soil needs structural repair first, not just fertilizer.
- A soil test tells you whether gypsum makes sense and keeps you from guessing.
- Broadforking, digging forks, and core aerators open the bed without turning it into sludge.
- Compost helps most in the top planting zone; too much can create a shallow root pocket.
- Mulch protects the finished bed, but it is not a substitute for loosening hard ground.
- If water still ponds after prep, the site needs more than surface amendment.
Should you amend rocky soil for xeriscape?
Yes, but only enough to create a usable rooting zone. Rocky soil is often worth amending in the top 6 to 8 inches so roots can establish, but it is rarely worth trying to turn the whole site into garden loam. Keep the fix targeted, and leave harmless stone where it does not block roots.
How do you plant in compacted clay?
Plant in a loosened bed and make the hole wide, not deep. Compacted clay needs breaking up with a broadfork or digging fork before planting, then a broad planting hole that lets roots move sideways. If the clay stays slick or waterlogged, planting directly into it usually leads to poor root growth.
What is the best soil prep for dry yards?
The best soil prep for dry yards is the one that matches the site: loosen compacted ground, remove only the worst rock, add modest compost where roots will use it, and keep the finish shallow and stable.
Drafted with AI; not yet reviewed by a person.