Last updated: September 10, 2026
Key Takeaways
- Verify that emitters are 6 to 12 inches from small shrubs and farther out for established trees.
- If runoff starts in 10 to 15 minutes, the rate is too high for your soil.
- The correct approach is to verify moisture 4 to 6 inches down and adjust the schedule by season.
- Feed a plant or a small group from the main line with a short 1/4-inch branch, usually 6 to 24 inches long.
Drip irrigation fits most xeriscapes because it sends water straight to the root zone instead of soaking the whole yard. Simple. If you are figuring out how to install drip irrigation for a xeriscape garden, the real task is to build a pressure-controlled setup that waters deeply and wastes less than sprinklers. Have a hose bib, a few beds, and some patience for careful tubing? Then you can put together a practical xeriscape garden system.
Who this is for — and what I am assuming you already have
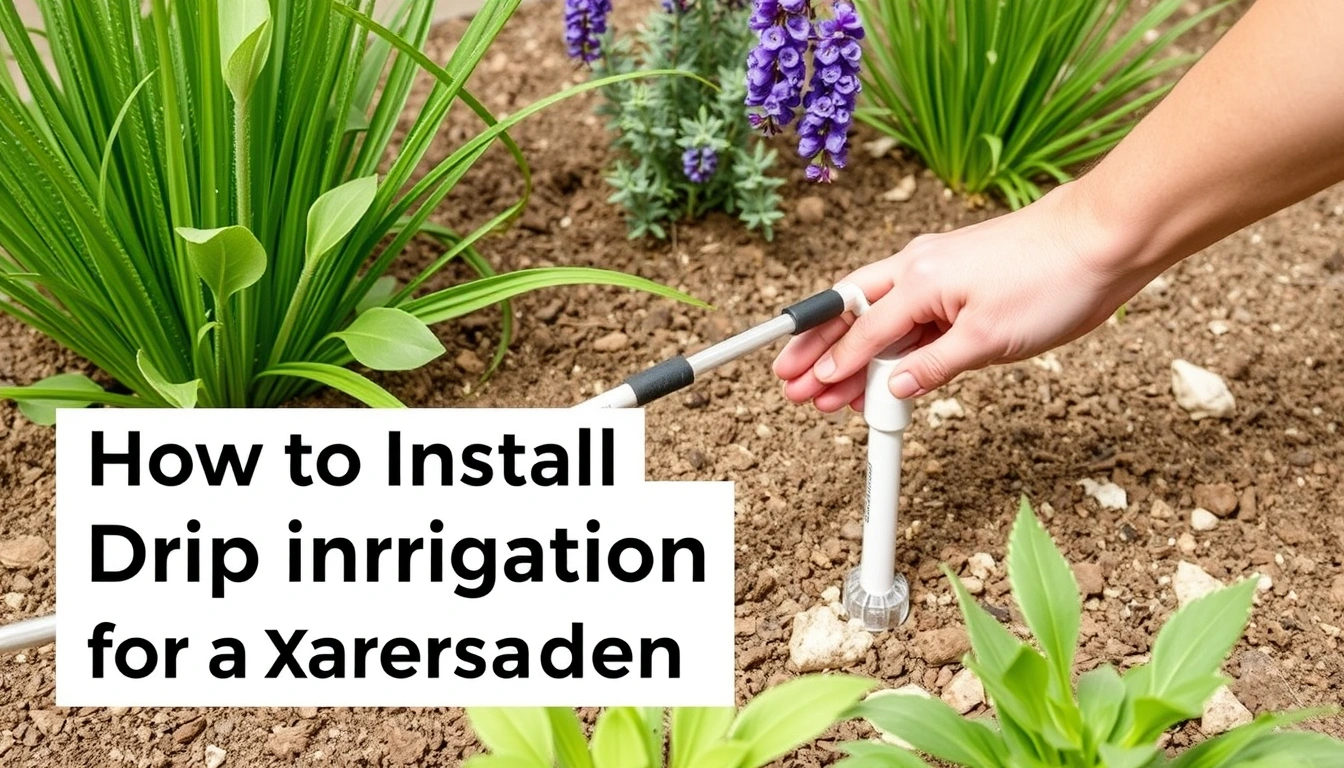
A home xeriscape with trees, shrubs, perennials, succulents, or native beds grouped by similar water needs is what this article is about. I’m assuming you already know where the water source is, have basic hand tools, and will sketch a simple plan before buying parts. Also, I’m assuming you want something workable, not showroom-perfect: 1/2-inch polyethylene tubing, 1/4-inch distribution tubing where needed, a filter, a pressure regulator, and emitters matched to the plants.
Not every yard belongs in this setup. Mostly turf? Soil that swallows water in minutes? Plants scattered across wide open space? Then drip can turn finicky fast. Frankly, that’s a mess. I would rethink the planting layout before I ran any tubing. Drip behaves best when plants are grouped by water demand and the lines stay short and direct.
A standard outdoor drip setup usually runs on household pressure that is too high for emitters, so a pressure regulator matters. Most drip parts are built for roughly 20 to 30 psi, not faucet pressure. Using a municipal supply? Local backflow rules matter too; in many places, a hose bib vacuum breaker or approved backflow device is required. I’d treat that as nonnegotiable before building around the faucet; consult local code or a licensed irrigation professional, since backflow requirements vary by jurisdiction. See the EPA’s backflow overview: https://www.epa.gov/sdwa/cross-connection-control-manual
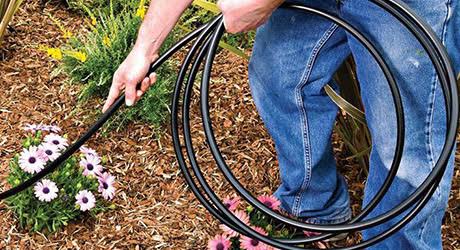
The starting point is plain: mulched beds, plants already in the ground, and a route for tubing along bed edges or around plant groupings. If that sounds like your place, you can install a system that is simple, repairable, and easy to expand later.
What should I plan before I buy any parts?
Map the garden by watering zones before you buy tubing. That one step drives everything else. Draw the beds on paper and mark each plant by type and size. Put the thirstiest plants together, and keep cacti, agaves, and lavender away from shrubs that want regular deep watering. That’s xeriscape irrigation in one sentence: one valve or one line set per similar need.
I’d start with three numbers — the water source, the bed length, and the plant spacing. Measure the longest run from faucet to the farthest plant. That tells you whether 1/2-inch tubing is enough or whether the run needs to split into branches. For most residential beds, 1/2-inch poly tubing is the backbone and 1/4-inch tubing is only a short feeder, not the main line. Try to push water long distances through 1/4-inch tubing and the far emitters get weak. Like a squeezed straw.
Next, decide how the water leaves the line. A point-source emitter sends water at a known rate to one plant; a micro-sprayer wets a broader patch; dripline with emitters built in works well for rows of shrubs or groundcovers. In xeriscapes, I usually favor point-source emitters near established shrubs and dripline for linear plantings. I would not use open-ended “let it trickle” layouts. They waste water and are hard to balance.
Check soil texture before choosing emitter spacing. Sandy soil spreads water less sideways, so emitters need to be closer together or run longer. Clay spreads water farther but absorbs slowly; if you apply too fast, water puddles or runs off. So emitter flow rate and run time need to match the soil, not the label on the box. The USDA NRCS soil texture guidance is a useful reference when you are matching irrigation to soil behavior: https://www.nrcs.usda.gov/resources/education-and-teaching-materials/soil-texture
Think about mulch depth now, not later. A 2 to 3 inch mulch layer helps hold moisture and hides tubing. Too much mulch over emitters can bury them and make maintenance annoying. Leave the emitters reachable enough that you can find and clean them.
How do I install drip irrigation for a xeriscape garden?
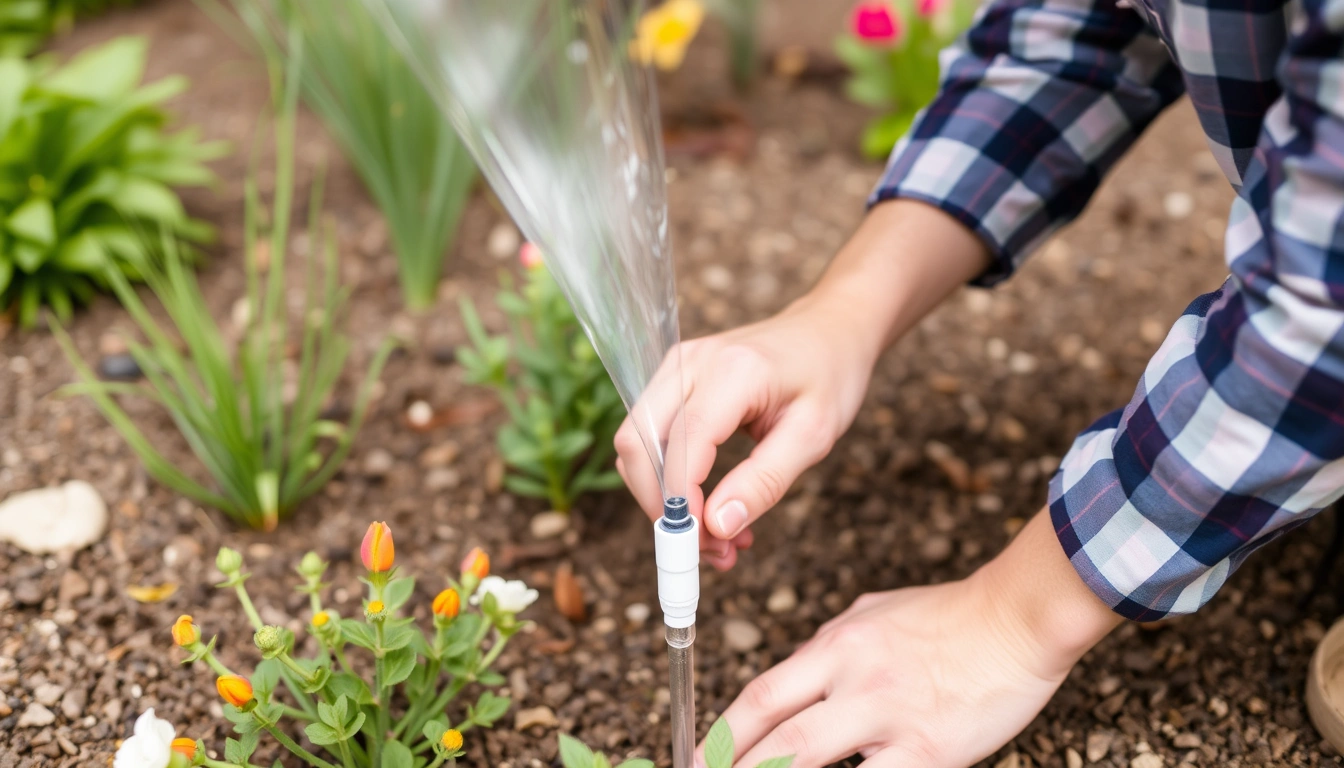
Build it in a set order: pressure control at the source, tubing along the planting pattern, and emitters where the roots can actually reach the water. The sequence matters. Skip it, and the whole thing gets wobbly.
- Attach the hardware at the water source. Install an approved backflow preventer if your local code requires one, then a filter and a 20 to 30 psi pressure regulator before the tubing. Verify that the filter screen is accessible for cleaning and that every threaded connection is hand-tight plus a small wrench turn, not crushed tight. A leak at the faucet means the seal or washer is wrong. For installation basics and maintenance, see University of California Agriculture and Natural Resources: https://ipm.ucanr.edu/home-and-landscape/drip-irrigation-for-home-landscapes/
- Run the main line along the bed edge. Use 1/2-inch polyethylene tubing for the backbone and keep the run as direct as possible, usually within 100 to 200 feet for a single simple zone depending on layout. Verify that the line stays flat against the soil and avoids sharp bends. If the tubing kinks, flow drops and the far end may starve. Ugly, but true.
- Lay out plant groups before punching holes. Mark each shrub or cluster with landscape flags or chalk, then space emitters to match the root spread, usually near the drip line of the plant rather than tight against the trunk. Verify that emitters are 6 to 12 inches from small shrubs and farther out for established trees. Put them at the trunk and you invite rot. For trees and shrubs, consult a local nursery or certified arborist if you are unsure how far the active roots extend.
- Choose emitter flow rates for the plant size. Common emitters are 0.5, 1, 2, or 4 gallons per hour, often abbreviated GPH. Use lower rates for small plants and higher rates or multiple emitters for larger shrubs. Verify that no single plant is getting so much water that soil turns slick or puddles. If runoff starts in 10 to 15 minutes, the rate is too high for your soil. University extension guidance on drip systems and soil infiltration is a solid check: https://extension.colostate.edu/topic-areas/yard-garden/drip-irrigation-7-239/
- Use 1/4-inch tubing only where needed. Feed a plant or a small group from the main line with a short 1/4-inch branch, usually 6 to 24 inches long. Verify that each branch stays short and unobstructed. Run spaghetti tubing across the bed and the system gets harder to balance and easier to damage. Not worth it.
- Anchor the tubing and protect the emitters. Use landscape staples every 3 to 5 feet on curves and near fittings, then cover the line with 2 to 3 inches of mulch without burying access points. Verify that the tubing does not lift when you tug it gently. If it moves, wind, pets, or a hose can shift it out of place.
- Flush the line before final capping. Open the end of the main line and run water for 1 to 2 minutes to clear debris, then cap it or install an end fitting. Verify that the water runs clear and that the flush point can be opened later for seasonal maintenance. If grit keeps appearing, the filter is not doing enough or the line needs another flush.
- Test each plant zone with a timed soak. Run the system for 20 to 45 minutes, then dig a small hand test 4 to 6 inches deep near representative plants to see whether moisture reached the root zone. Verify damp soil below the surface, not just a dark top crust. If the soil is wet on top but dry below, the run time is too short or the emitters are too light.
If you want the simplest way to think about it, use coverage instead of speed. A xeriscape bed with shrubs and perennials usually does better with longer, less frequent watering than with short daily cycles. That’s one reason drip works well here: it can deliver water slowly enough for the soil to absorb it. The EPA WaterSense page on drip irrigation is a helpful general reference: https://www.epa.gov/watersense/drip-irrigation
What kinds of plants need different treatment?
Water by plant type. A xeriscape is not one water zone wearing a decorative hat. Deep-rooted shrubs, shallow-rooted succulents, and young trees all need different emitter placement and run time, so consult a local extension office or plant specialist if the mix is unusual.
For established shrubs, I like two emitters per plant placed near the outer root zone rather than one emitter at the stem. That spreads water more evenly and encourages roots to widen. Young shrubs can start with one emitter on each side if the root ball is small. For larger plants, add emitters as the canopy grows; don’t just turn up one point and expect even uptake. That math stops working fast.
Trees deserve their own mention. A young tree often needs a ring of emitters near the root ball edge, then a wider ring as it matures. Keep water away from the trunk flare. The trunk should stay dry at the base; wet bark around the stem is an invitation to trouble. On a mature tree, the active feeder roots are often farther out than people think, so the emitters should move outward over time.
Succulents and cacti are the exception most people mishandle. Many of them are damaged more by too much frequent moisture than by occasional dry spells. I would keep them on a separate zone if possible and use fewer emitters, or none if their rainfall alone is enough once established. This is where a generic “drip is for xeriscape” article goes sideways: not every xeric plant wants the same schedule.
If your bed mixes high-water and low-water plants in the same strip, separate them physically or accept that one group will be compromised. There is no clean fix for a badly mixed bed except redesigning it.
What are the mistakes people actually make?
The biggest mistake is treating the system like a sprinkler network. A sprinkler throws water across open space; drip serves the root zone. Guess at emitter spacing and some plants drown while others stay dry. The fix is to group plants by water demand and assign emitters by root spread, and if the layout is complicated, consult a local irrigation professional before you commit to the design.
Another common error is skipping the filter because the water “looks clean.” Tiny particles clog drip emitters fast, especially the pressure-compensating kind. The result is uneven flow and dead-looking plants at the far end. The better move is a filter installed before the regulator and checked regularly.
People also bury fittings too deeply. That makes maintenance miserable and hides leaks until the mulch collapses. Keep fittings visible or just under mulch so you can inspect them. A clean system is not one you never see; it is one you can inspect in 30 seconds.
A fourth mistake is using too many emitter types in one zone. Mixing 0.5 GPH point emitters, 2 GPH emitters, and micro-sprayers without a plan leads to uneven moisture. The result is guesswork every time you water. The better option is one emitter family per zone and a clear reason for every exception.
Another problem is turning the run time into a daily habit without checking soil. In clay, short daily watering can keep the surface damp while the root zone stays thirsty. In sandy soil, long intervals can leave the bed dry between cycles. The correct approach is to verify moisture 4 to 6 inches down and adjust the schedule by season.
Finally, people leave tubing exposed at the edge of paths or under string trimmers. That leads to cuts, leaks, and constant repairs. Use stakes, tuck the line inside the bed edge, and protect crossings with rigid sleeving or reroute them.
When should I stop and change the plan?
Stop and change the plan when the bed shape, plant mix, or water source makes a standard drip layout unreliable. Drip is a tool, not a cure-all, so sometimes the right answer is to redesign the zone instead of adding more parts.
One zone contains cacti, thirstier shrubs, and annual flowers: those plants do not share a watering schedule — split the bed into separate zones or redesign the planting groups.
Your soil forms puddles after 10 to 15 minutes of watering: the application rate is too fast for the soil — use lower-flow emitters, longer soak intervals, or add emitters farther apart.
The farthest plant is more than about 200 feet from the source on a single simple run: pressure loss will make the end of the line unreliable — shorten the run or create another branch or zone.
You cannot install a proper backflow device where local code requires one: the hookup may not be compliant — use the approved hardware before proceeding.
The bed is so scattered that tubing would crisscross open ground and hardscape: the layout will be vulnerable to damage and hard to maintain — reorganize the planting or use a different irrigation method for those areas.
You cannot reach the filter and end flush points without removing half the mulch: maintenance will get skipped — redesign the placement so service points stay accessible.
If any of those show up, I would pause before buying more fittings. The right fix is usually a zoning change, a plant regrouping, or a different irrigation layout, not more tubing.
How long does installation take, and what does a good result look like?
A small xeriscape bed can take a few hours; a larger, multi-zone yard can take a full weekend. Planning time is the main variable, not physical labor. If you have a clear sketch, a short run of 1/2-inch tubing, and a modest plant count, the installation goes quickly. If you are improvising around a mixed bed, it slows down.
A good result has three signs. First, the tubing follows the bed cleanly and does not snake across paths. Second, every plant gets water where its roots can reach it, not on the crown or the leaves. Third, the soil below the mulch is evenly moist after a run, then begins to dry gradually, not instantly. That means the water is going where it should.
I’d expect the system to feel calm in the best way: no spray overshoot, little or no runoff onto paving, and no obvious dry pockets near the end of the line. If a zone needs constant fiddling, the layout is wrong or the plant grouping is wrong. A drip system should need seasonal adjustments, not daily rescue.