Last updated: September 10, 2026
Key Takeaways
- A slope under about 2% is nearly flat, while a stronger grade will move water more quickly.
- Pavers usually come in standard modular sizes, often 4-by-8, 12-by-12, or larger slabs, and they need a compacted base beneath them.
- If you are covering native soil with 2 to 3 inches of gravel, you still need planting pockets deep enough for the species you choose.
- Spread it to a consistent 2 to 3 inches, then rake it to the final grade around plants and boulders.
Who this is for — and who should do something else
This guide is for a homeowner or property manager building a gravel, boulders, and pavers drought-tolerant landscape and trying to decide where those materials actually help instead of just looking “desert-style.” You probably already know your site’s sun exposure, rough grade, and where water currently pools or runs off after a hose test or rain. Basic site prep is assumed too: measure a slope, move loose soil, set edging. Honestly, that’s the dividing line. A dry landscape with hard materials works best when it has a job: control runoff, define circulation, suppress weeds, or create planting pockets that keep moisture where roots can reach it.
Wrong fit? Then say so early. If your main problem is severe drainage failure, unstable soil, or a steep slope that is eroding, this is not the place to start. Gravel will not fix a low spot that stays soggy after a storm; boulders will not stabilize a slope that needs real retaining work. Water pushing toward a foundation, a driveway apron being altered, or structural retaining over about 3 or 4 feet — none of that is a decorative landscape job. A landscape contractor, drainage specialist, or engineer may be the right next call.
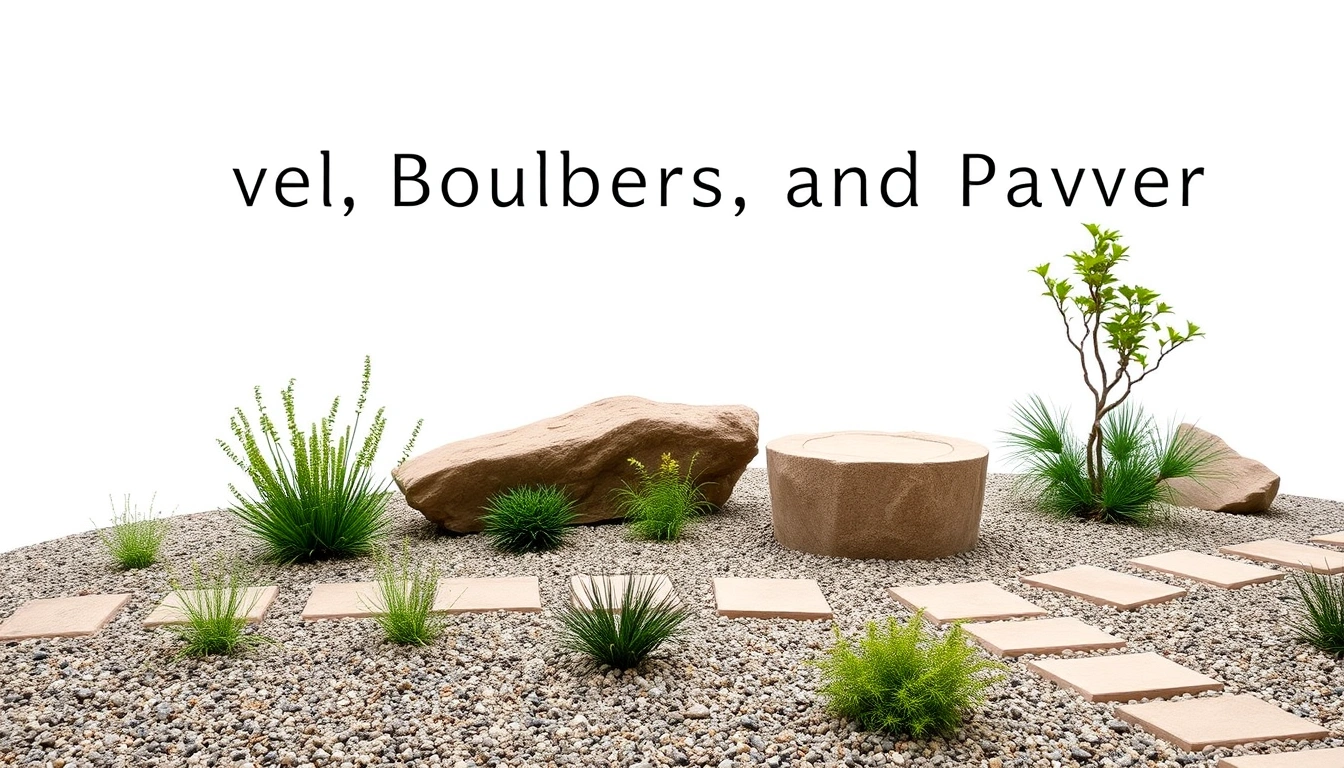
Think of this gravel, boulders, and pavers drought-tolerant landscape this way: gravel handles surface behavior, boulders add scale and structure, and pavers carry foot traffic and access. Three jobs. Three materials. Gravel can be 3/8-inch pea gravel for walking gaps, 3/4-inch minus for a firmer base, or larger rock for drainage swales. Boulders are measured by placement and visual mass, not by color alone. Pavers usually come in standard modular sizes, often 4-by-8, 12-by-12, or larger slabs, and they need a compacted base beneath them.
How do gravel, boulders, and pavers work together in a dry garden?
Give each material a lane: gravel for ground cover, boulders for anchors, pavers for the parts you walk on. That split keeps the design from becoming a hot, loose, hard-to-maintain field of rocks. Messy fast. No one wants that.
Gravel is not filler. In a drought-tolerant landscape, it can slow runoff, reduce exposed soil, and keep mulch from blowing away. A 2 to 3 inch layer is common for visual coverage and weed suppression. I’d use it where you want a low plant density, around succulents, or in zones that need quick drainage. But gravel alone is not a planting strategy. Bare rock heats up fast in full sun, and shallow-rooted plants can struggle if there is no soil volume below it.
Boulders do the visual heavy lifting. A single 18- to 24-inch boulder can look underwhelming if it sits by itself in the middle of gravel; two or three related sizes usually read better, because nature rarely places one stone in isolation. I would choose boulders to mark a transition: near a driveway corner, at the bend in a path, or where a planting bed needs a fixed point. Set them partially below grade so they look embedded, not dropped on top of the surface. That little move changes everything.
Pavers are the practical layer. If people need to cross the space, pavers give you a predictable walking surface that does not shift the way loose gravel can. They also let you control where water goes. A permeable paver system, which allows water to move through joints or units into the base below, can be useful on the right site, but it still needs the correct sub-base and joint material. According to the Interlocking Concrete Pavement Institute, permeable systems still depend on proper base depth and excavation, and that can make the difference between function and failure. If you are building a path with stepping pavers, spacing them about 24 to 30 inches on center is a common walking rhythm for adults, though your own stride length may call for a little adjustment.
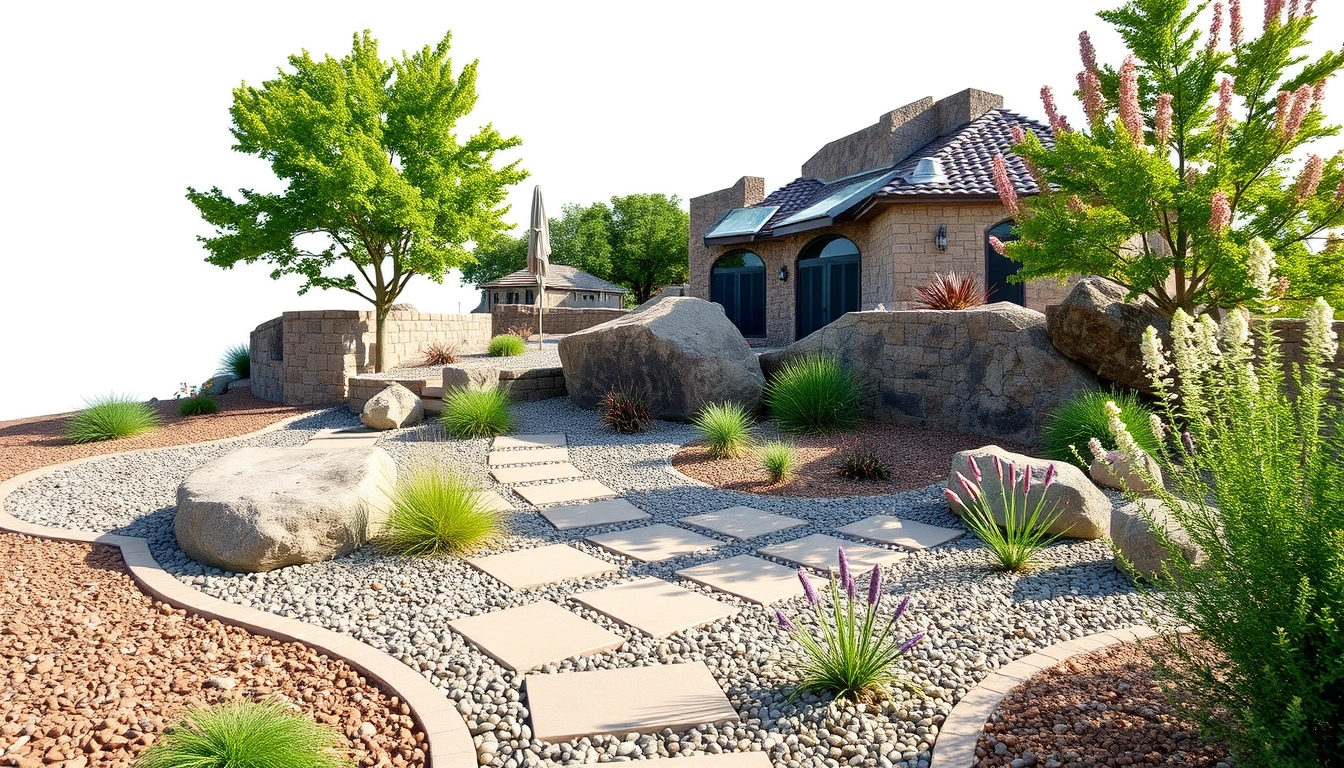
The strongest results usually come from mixing all three, but not every site needs all three in equal measure. Gravel fills open ground and directs water. Boulders create mass and keep the composition from feeling flat. Pavers give access without turning the whole yard into a patio.
What should I check before I place anything?
Check slope, drainage, soil depth, and final material height before you buy a single pallet. Those four checks prevent the most common and expensive mistakes.
Start with water movement. After a hard rain or a hose test, look for where water runs, ponds, or cuts channels. A slope under about 2% is nearly flat, while a stronger grade will move water more quickly. If gravel is placed on a slope without edging or a stabilizing base, it can migrate downhill within one season. If pavers sit in a depression, they can trap water and grow weeds in the joints.
Then check soil depth. Plants in a drought-tolerant plan still need enough root room. If you are covering native soil with 2 to 3 inches of gravel, you still need planting pockets deep enough for the species you choose. Shallow-rooted ornamentals and many succulents do poorly if the soil volume is cramped by stone and compacted base. Thin roots, bad fit.
Next check material thickness. Gravel cover of about 2 to 3 inches is usually enough for weed suppression and visual coverage; thinner than that and soil shows through, thicker than that and you create a deeper, hotter layer that is harder to rake. Pavers need a compacted base, often several inches deep depending on traffic and soil conditions. Set them too high and you create a trip edge; too low and they collect water. Annoying, but fixable — if you catch it early.
Also check access and maintenance. A gravel bed around a hose bib or irrigation valve may look neat but can make repairs miserable. Leave access panels or a small paved pad where you will need to reach valves, filters, or drip manifolds. If you cannot pull a weed, clear a drain, or replace a broken head without moving half the surface, the design is wrong. Simple test. If it’s a hassle now, it’ll be worse later.
How do I build the layout step by step?
I would build it in this order: grade first, hardscape second, planting last. That sequence keeps you from tearing up finished work when the layout changes.
- Mark the zones with hose, rope, or marking paint. Lay out paths at 36 to 48 inches wide for comfortable two-way passage, stepping-stone runs at 24 to 30 inches on center, and planting beds with at least 18 inches of depth from hard edge to plant center. Verify that each zone has a job. If a gravel area has no purpose, it will turn into a maintenance nuisance. Dead weight.
- Strip weeds and organic debris down to firm soil. Remove grass, roots, and loose top growth across the full footprint, then rake the area level. Verify you are working on stable ground, not on a fluffy layer of mulch or compost. If the surface compresses underfoot, the base will settle later. That’s the trap.
- Shape drainage with a gentle fall away from structures. Aim for a subtle slope that sends water to a planted basin, swale, or runoff-safe area, not toward foundations or fences. Verify with a level or string line that water will not pool against hard surfaces. If the slope points the wrong way, fix it now; don’t let stone hide the problem. Stone is not magic.
- Install edging where gravel must stay put. Use metal, concrete, or stout polymer edging set flush or slightly above the finished surface. Verify the edge is continuous at turns and transitions. Gaps, especially on curves, are where gravel escapes first. According to the University of California Statewide Integrated Pest Management Program, tighter ground cover and clean edging can help reduce weed pressure, though local conditions still matter.
- Set boulders first and bury part of each one. Place the largest stones where they can anchor the composition, then sink them about one-third into the soil so they read as natural outcrops. Verify each boulder sits solidly with no rocking. If it wobbles, the base below is not firm enough. Rock solid, or not.
- Build the paver base to the right depth and compact it. For a light pedestrian path, excavate enough for the paver thickness plus a compacted base and bedding layer; for heavier use, deepen the base. Verify the base is flat, compacted, and consistent under a straightedge. Soft spots or humps will telegraph through the finished surface. That math stops working fast.
- Set pavers and check both spacing and height. Keep tops level with one another or with a slight crown where water needs to shed. Verify that walking surfaces do not trip the toe and that adjacent gravel does not wash onto the edge. A crooked paver line is hard to ignore once the project is finished. Eyes catch it instantly.
- Place gravel after all heavy work is done. Spread it to a consistent 2 to 3 inches, then rake it to the final grade around plants and boulders. Verify that the base still drains and that no gravel is piled against plant crowns or irrigation emitters. If the stone buries a stem or clogs a drip line, it is too high. Back up and fix it.
- Plant last and water in once. Cut clean holes through the gravel, set plants into amended pockets if needed, and water deeply so the root zone settles. Verify that the plant crown stays above grade and that water soaks in instead of running off the stone. If runoff happens immediately, the planting pocket is shaped wrong or the soil is too compacted. Planting first is a mistake.
This order matters because rework is expensive in time and labor. A 50-foot path or bed can be ruined by one misplaced boulder or a paver base that was not compacted before the gravel went down.
Which materials should go where?
Use gravel on broad, low-traffic surfaces, boulders at visual or functional pivots, and pavers anywhere feet need repeatable footing. That rule prevents overbuilding and keeps the garden from feeling cluttered, but it is still worth checking the site plan with a landscape professional if the layout is close to structures or drainage infrastructure.
Gravel belongs in open bed areas, between widely spaced shrubs, and in swales that catch sheet flow. In arid settings, I would favor angular rock over perfectly rounded pebbles where stability matters, because angular material locks together more firmly. Rounded pea gravel is easier underfoot but moves more easily. If your goal is walking comfort, pea gravel can work in a contained path; if your goal is staying in place, a crushed stone product is usually better.
Boulders belong where a bed needs scale. A row of small rocks usually looks accidental. Three stones of related size, with one dominant mass and two supporting pieces, often reads more convincingly. Use them to redirect the eye, not to fence in every plant. A boulder that is too close to a path can feel like an obstacle; one that is too small for the space disappears.
Pavers belong where the landscape gets used repeatedly: front entries, hose routes, trash-bin routes, narrow side yards, and connections between patio and gate. They are also the cleanest answer when you want less loose material near doors. If you want a path that stays clean in muddy months, pavers beat gravel almost every time. If you want a soft, informal bed edge, they may be too rigid.
I would not put all three materials everywhere. A yard covered edge to edge in stone can become hot, noisy, and visually harsh. A successful drought-tolerant landscape still needs planting mass and some bare soil under cover. The materials should frame the plants, not erase them. That balance is the whole point.
What mistakes do people actually make, and what do they cost?
The biggest mistake is using gravel as a substitute for design. That usually costs one extra cleanup season, then a redo. Gravel without a drainage plan migrates, gathers debris, and looks unfinished.
A second mistake is placing boulders on top of the soil without burying them. The result is a “dropped rock” look that seems artificial. The fix is simple: set each stone partially below grade and orient its longest face for the viewing angle you actually have, not the one you imagined from the yard center.
A third mistake is choosing pavers before resolving the base. A nice-looking paver laid over weak ground will tilt, settle, or open gaps. The correct alternative is to excavate, compact, and only then set the unit. For pedestrian-only areas, the base can be lighter than a driveway base, but it still needs to be there.
A fourth mistake is mixing too many gravel sizes and colors. That creates visual noise and makes maintenance harder because the smaller material migrates into the larger. Stick to one dominant gravel size and one accent stone if you need contrast.
A fifth mistake is crowding plants with stone. Gravel piled against stems can overheat crowns and hold splash-back against trunks. Leave a few inches of breathing room around woody stems and enough exposed soil at planting holes for water to soak in. The alternative is a neat-looking surface that slowly weakens the planting.
When does the standard approach not apply?
The standard mix of gravel, boulders, and pavers does not apply when water, slope, or access demands a different tool. In those cases, forcing decorative stone into the problem makes the outcome worse.
Water ponds for hours after irrigation or rain: the grade is wrong or the soil drains too slowly — fix the drainage first with regrading, a swale, or a drain line before adding stone.
The slope is steep enough that gravel slides downhill: loose cover will not stay put — switch to terracing, larger stone retention, or planted groundcovers with proper edging.
You need a vehicle path or trash-cart route: pedestrian pavers and light gravel are not enough — use a heavier base and a pavement system designed for the load.
You are within the drip line of large trees: digging for paver base can damage roots — consult a certified arborist or landscape professional before excavation, reduce excavation depth where possible, keep hardscape outside the critical root zone, and use surface treatments that disturb less soil. The ISA and USDA Forest Service both advise minimizing root disturbance near mature trees.
The yard faces intense reflected heat, such as west-facing masonry or full-sun courtyards: too much exposed rock can bake the site — increase plant cover and use less gravel, not more.
You need drainage correction near a foundation or retaining wall: decorative stone is not a fix — bring in the right drainage solution before any cosmetic work.
The consequence of ignoring those limits is predictable: shifting stone, heat stress, broken edges, or a landscape that looks tidy for a month and fails after the first hard rain.