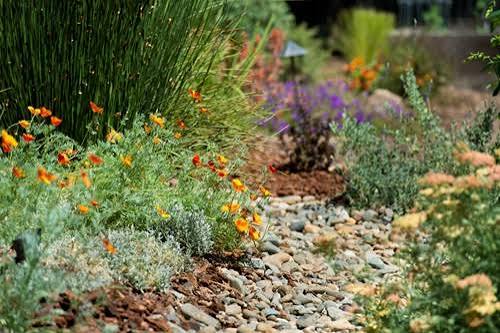
Last updated: September 10, 2026
Key Takeaways
- Water-saving design irrigation usually starts with layout, not hardware.
- Drip systems usually need a filter, commonly around 150 mesh, and a pressure regulator sized for the device.
- Runoff begins after the soil surface saturates. In the first 5–15 minutes, it is common.
- On a slope over about 10%, I would be cautious about long spray cycles.
- A 300-square-foot reduction in turf can matter more than a new smart controller if the old layout was overbuilt.
Table of Contents
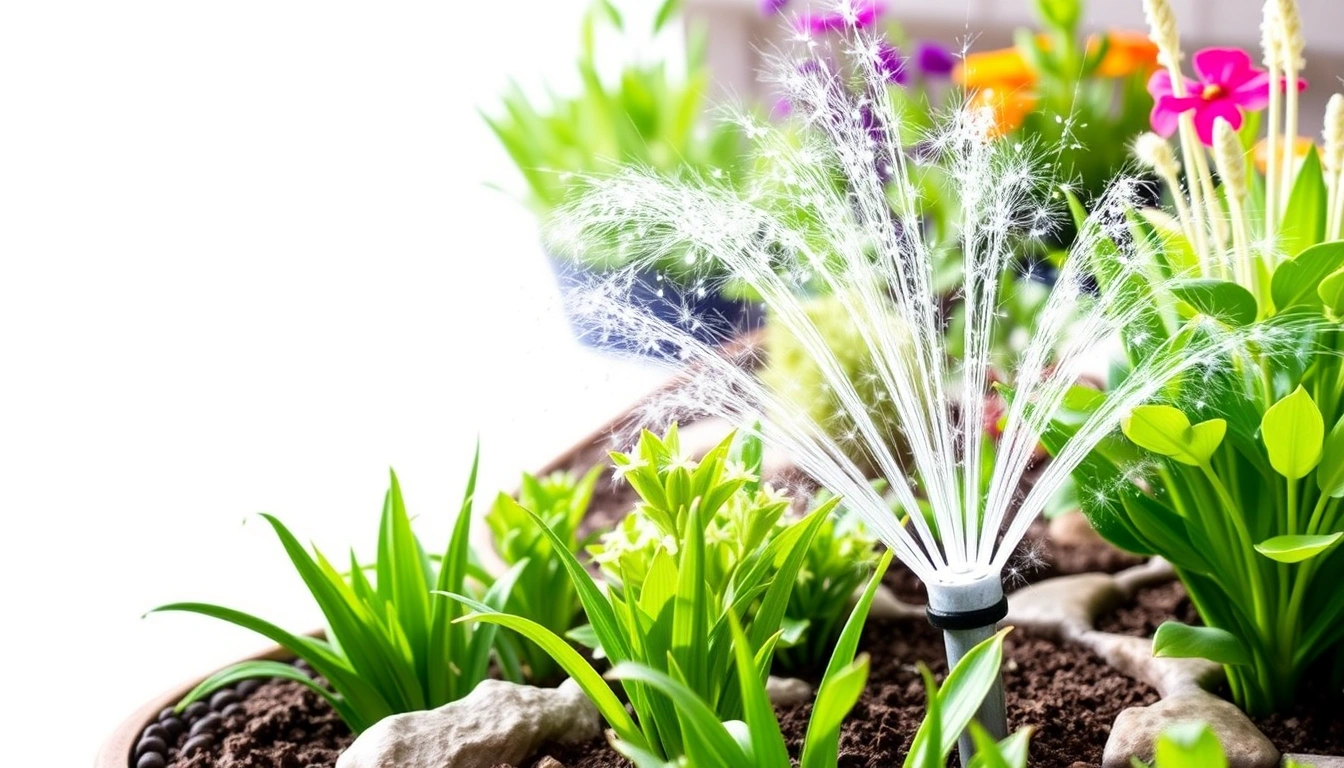
- Who this applies to, and who should do something else
- What a water-saving landscape actually changes
- How do I design a water-saving irrigation plan?
- The complete water-saving irrigation setup, step by step
- Common mistakes that waste the most water
- When should I stop and change the approach?
- What changes at slopes, clay soil, and windy sites?
Who this applies to, and who should do something else
A gravel tray? No thanks. This guide is for people who want to cut outdoor water use with water-saving design irrigation without turning a landscape into a dead patchwork. Homeowners, small-site managers, landlords, and property teams all fit here, whether they are working with lawns, shrubs, native beds, vegetable plots, or mixed plantings under ordinary irrigation pressure — usually around 30–70 psi at the tap. Honestly, the biggest wins show up when you can tell a lawn zone from a shrub bed, find the shutoff valve, and measure before touching anything.
So what is the real task? How do you design a landscape and irrigation system so plants get the water they need with the least waste? Not by “using less everywhere.” That shortcut fails fast. Instead, match plant demand, soil, slope, and hardware to each other. Group plants by water need, shrink irrigated area where you can, and use methods that put water where roots can use it.
This is not the right starting point if you are dealing with a failed main line, a backflow issue, severe drainage damage, or a site where existing trees, slopes, or public right-of-way rules make changes risky. Nor is it the right tool if you only want instant green and have no appetite for changing plant choice, bed shape, or the watering schedule. A sprinkler system alone cannot rescue turf that is asked to survive full-sun exposure, compacted clay, and one 10-minute cycle a week. Impossible math.
I also want to draw a line around the scope. “Water-saving design” includes more than irrigation hardware. In practice, the biggest savings often come from reducing turf area, improving soil infiltration, and placing plants by hydrozone, meaning grouping plants with similar water needs in the same irrigation zone. Swap nozzles only, and the big waste stays put.
For a general homeowner, this is a do-it-yourself project if the system is simple and you are comfortable handling one zone at a time, then checking how it performs. But if the site has very steep slopes, large trees close to hardscape, or municipal irrigation controls tied to code requirements, I would not treat it as a casual weekend job; bring in a qualified irrigation designer or licensed contractor. That is not a disclaimer. It is a practical boundary. The wrong design can waste water for years. The EPA’s WaterSense program and local extension resources both stress that pressure, slope, and zone design matter as much as the controller.
What a water-saving landscape actually changes
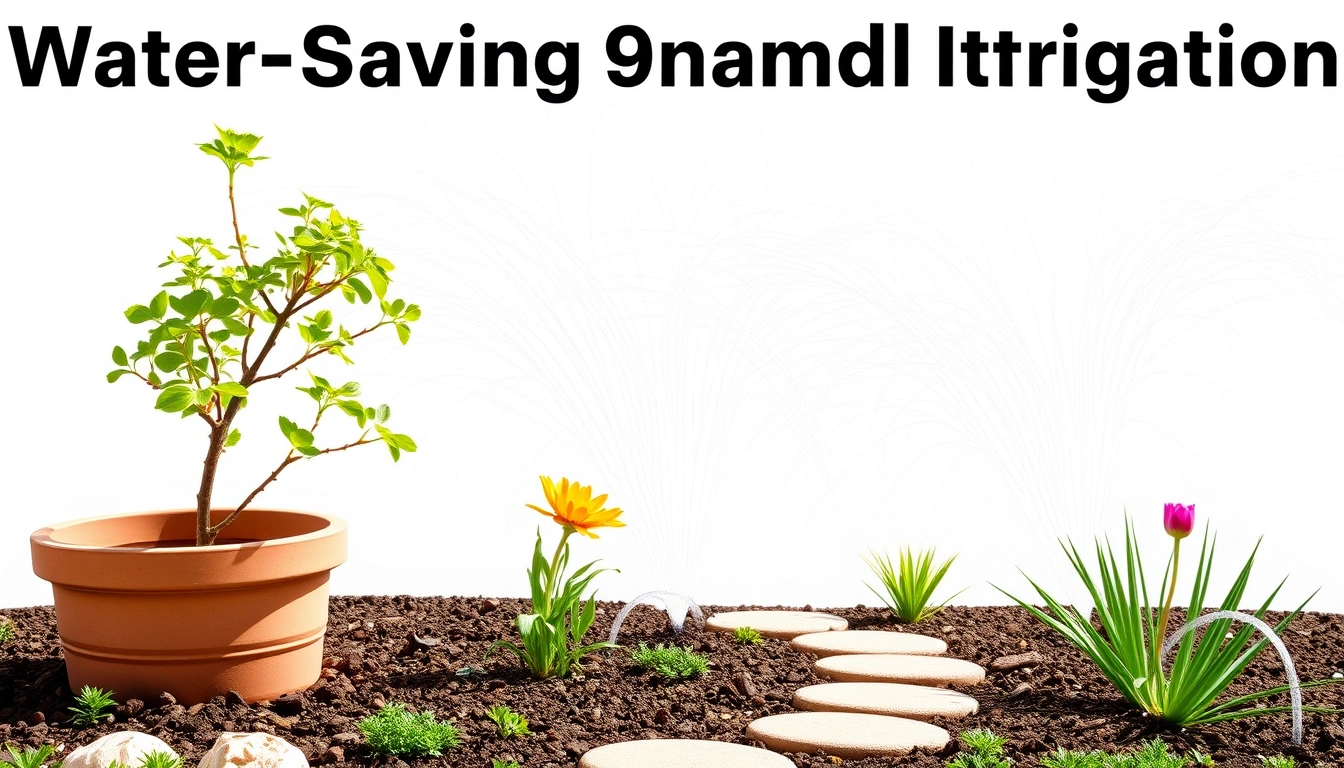
A water-saving landscape cuts demand first, then supply. Simple, yes. Yet a lot of generic advice starts with emitters and timers because those are easy to sell. I would start elsewhere: reduce unnecessary irrigated area, separate plant types by water need, and design for infiltration instead of runoff.
First, the obvious move. Every square foot of lawn removed from a high-evaporation site is one less square foot that needs frequent, shallow watering. Lawns are useful. They are also thirsty. Shrub beds, groundcovers, perennials, and native plantings can often run on deeper, less frequent irrigation once established. A 300-square-foot reduction in turf can matter more than a new smart controller if the old layout was overbuilt.
Hydrozoning comes next. Put high-water plants together, low-water plants together, and do not mix them on the same valve if you can avoid it. A valve is the control point for one irrigation zone. If a patch of lawn and a bed of drought-tolerant shrubs share the same zone, one of them will usually be watered wrong. That is where waste hides — not in obvious leaks, but in zones forced to serve incompatible plants.
Then slow the water down. Compacted soil sheds water; loose, organic-rich soil holds it. On a site with clay or heavy traffic, a 0.5-inch irrigation cycle can run off before it soaks in. On a sandy site, the same cycle may drain past the root zone. Good design respects soil texture, slope, and root depth. It may mean adding 2–3 inches of mulch, widening planting beds, using berms and basins, or replacing spray heads with dripline in shrub areas.
This is where a lot of advice goes sideways: it treats “efficient irrigation” as a nozzle problem. Hardware matters, sure. But the design either helps that hardware or makes it stumble. A drip zone serving a dense plant bed with 2-inch mulch can be excellent; the same dripline buried under roots, without pressure regulation, on a slope, with mismatched plants, can become a maintenance headache. If you are unsure, consult a qualified irrigation professional and check local guidance from your extension office or water utility.
One common assumption deserves a pushback: “native” does not automatically mean low-water. Native plants can be low-water once established, but not all natives are drought adapted, and not all non-natives are wasteful. The better rule is plant water demand plus site fit. A well-placed rosemary shrub may need less irrigation than a poorly sited “native” that wants seasonal moisture.
Want a quick design test? Ask yourself whether you can say, zone by zone, what each plant group needs in July, not just in spring. If the answer is no, the design is still speaking the wrong language.
How do I design a water-saving irrigation plan?
Measure first. Group second. Then size each zone to the actual water demand of that group. That is the path I would use: map, classify, zone, choose hardware, then schedule. Water-saving design irrigation works best when those passes happen in that order.
Start with a rough plan of the property at a scale you can use, even if it is just graph paper. Mark hardscape, shade, slope, downspouts, existing irrigation lines, and areas that stay wet after rain. Note sun exposure in four buckets: full sun, part sun, part shade, and deep shade. A bed under a tree canopy may have lower evaporation but more root competition. That changes the irrigation choice.
Next, classify plants by water need. The practical groups are high, moderate, and low. High-water areas include new turf, vegetables in summer, and young plantings still establishing. Moderate-water areas include many shrubs, perennials, and some shade beds. Low-water areas include mature drought-adapted shrubs and many native groundcovers after establishment. The point is not botanical purity; the point is to keep a zone from trying to satisfy conflicting demands.
Then assign zones so each valve serves one water class and one delivery method. Drip and spray should not be thrown together just because they are on the same side yard. Dripline is a continuous tubing with emitters built in or attached at intervals, often spaced 12, 18, or 24 inches apart, used for shrub beds and linear plantings. Spray heads throw water in an arc and belong mainly to turf, where the whole surface is meant to be wetted uniformly. Rotary nozzles, including low-precipitation models, can reduce runoff on slopes or clay soils because they apply water more slowly than standard fixed spray. WaterSense and university extension guides both note that matched application rates improve uniformity.
Choose hardware based on the zone, not the brochure. In shrub beds, I would usually favor pressure-compensating dripline or point-source emitters over spray. Pressure-compensating means the emitter tries to deliver a consistent flow over a range of inlet pressure. In turf, I would favor matched precipitation nozzles, meaning heads that apply water at similar rates so one area does not drown while the next stays dry. A zone should also have a pressure regulator if the supply pressure is too high for the device, and a filter where drip is used.
Finally, set an initial schedule, then adjust from observation. A controller set by calendar alone is a crude tool. Soil, season, root depth, and weather decide the actual need. A better starting point is to water deeply enough to wet the active root zone, then wait until the upper soil begins to dry before repeating. For turf, the active root zone is usually shallow compared with shrubs; for shrubs, it is deeper. Water too often, and roots stay shallow. Water too long, and water runs below roots or off the surface.
The question I always ask is simple: can I describe each zone in one sentence without mixing plant types? If not, the layout probably needs another pass before hardware changes.
The complete water-saving irrigation setup, step by step
A water-saving irrigation setup works best when delivery matches each zone, and then pressure, coverage, and infiltration are checked before anyone walks away. The steps below are the sequence I would use on a typical small site with a mix of lawn and beds.
- Measure the area of each zone in square feet. Mark turf, shrub beds, and seasonal planting areas on a plan and estimate each separately to the nearest 25 square feet. Verify that no valve serves more than one plant-water class. Any zone where lawn and shrub bed share hardware is a problem, because the watering schedule will always compromise one group. One size never fits all.
- Check water pressure at the source. Use a pressure gauge at an outdoor hose bib and note the static pressure before flow starts; many irrigation parts are designed around typical residential pressure ranges and often need regulation above that. Verify that pressure is stable and not wildly swinging when another fixture opens. Pressure that is too high for drip or spray nozzles causes misting, blown fittings, or uneven application. Ugly stuff.
- Test soil intake with a simple infiltration check. Dig or push a ring or can into the soil and add a measured volume of water, then see how quickly it infiltrates. On heavy clay, slow intake means shorter runtime and more cycle-and-soak watering; on sandy soil, faster intake means deeper but less frequent watering. Visible puddling after 5–10 minutes is a problem, because runoff risk is high and each cycle should be broken into shorter repeats.
- Choose the irrigation method for each zone. Use spray or rotary nozzles for turf, and dripline or point emitters for beds and shrubs. Verify that the delivery pattern fits the plant spacing: for example, dripline spacing often works best when plants are set in a continuous bed rather than isolated far apart. Using spray on a bed edge is a problem when half the water lands on mulch or pavement. Wasteful, plain and simple.
- Install pressure regulation and filtration where needed. Drip systems usually need a filter, commonly around 150 mesh, and a pressure regulator sized for the device. Verify that the regulator matches the operating pressure called for by the manufacturer’s documentation. Clogged emitters, burping lines, or wet spots only near the first emitter usually point to poor filtration, pressure imbalance, or line kinks.
- Set head-to-head or pattern-to-pattern coverage. For turf, arrange sprinklers so the spray from one head reaches the next head; for drip, make sure emitters cover the full root zone of each plant group. Verify uniform wetting by checking several spots after a short test run. Dry islands between heads or overspray onto sidewalks mean the spacing or arc is wrong.
- Program cycle-and-soak on sloped or tight soils. Break a longer watering period into 2 or 3 shorter cycles separated by 30 to 60 minutes so water has time to infiltrate. Verify that water stays in place instead of running downhill or pooling at the low end. Runoff after the first few minutes means the cycle is still too long for that soil or slope.
- Mulch exposed soil and protect the root zone. Apply 2 to 3 inches of organic mulch around shrubs and beds, keeping mulch a few inches away from trunks and stems. Verify that irrigation reaches soil, not a mulch mound that sheds water. “Volcano mulching” is a problem, where mulch piled against stems invites decay and actually blocks water movement.
- Run a test and adjust by evidence. After the first full test, inspect wetting depth with a screwdriver or small trowel and check for dry spots, leaks, and overspray. Verify that the soil is moist to the intended depth without standing water. A system that looks fine from the controller but leaves shallow roots dry is still wrong, because the runtime or hardware does not match the site.
One rule helps more than people expect: make one change, then retest. Replace hardware, shift scheduling, and replant all at once, and you will not know which change helped. The goal is not a perfect spreadsheet. It is a water-saving irrigation system that waters the root zone, not the driveway.
Common mistakes that waste the most water
Most of the expensive mistakes are design mistakes, not equipment failures. I would watch for these first because they are easy to miss and costly over a season.
-
Mixing plant types on one zone. The consequence is chronic overwatering of drought-tolerant plants or underwatering of lawn. The correct alternative is to re-zone by water need, even if that means adding a valve or two.
-
Using standard spray where drip should be used. The consequence is overspray, evaporation loss, and water on hardscape. The correct alternative is dripline in shrub beds, linear planters, and areas where plants are spaced but not mowed.
-
Running one long cycle on clay or slopes. The consequence is runoff after the soil surface saturates, especially in the first 5–15 minutes. The correct alternative is cycle-and-soak with shorter runs and pause times.
-
Ignoring pressure. The consequence is misting, uneven distribution, broken fittings, or emitter blowouts. The correct alternative is to measure pressure and add regulation where the device requires it.
-
Watering on a fixed schedule all year. The consequence is waste in cool months and stress during hot spells. The correct alternative is seasonal adjustment, or a controller that can respond to weather or soil conditions.
-
Putting mulch on top of irrigation problems. The consequence is a landscape that looks finished but still runs hot, dry, or uneven. The correct alternative is to fix zone layout and infiltration first, then mulch as a moisture buffer.
What do these mistakes cost? Usually not just water. They cost plant health, labor, and time spent chasing brown patches that are really symptoms of mismatch. A dry corner in July may mean poor head spacing. A soggy collar at a shrub trunk may mean the drip emitter is too close. A patchy lawn may mean the nozzles are not matched or the arc is clipped by the wrong setting.
One myth deserves a callout: “more efficient heads will solve everything.” Better hardware helps, but if the bed is oversized, the zone mixes plant types, or the slope forces runoff, the savings are limited. A good controller is not a substitute for a bad plan. EPA WaterSense and irrigation extension publications both make the same basic point.
When should I stop and change the approach?
Stop when the site conditions make water-saving irrigation a poor fit or when the issue is structural, not scheduling. These are the situations where I would change course rather than keep tuning the same system.
Standing water remains 12–24 hours after irrigation: The soil is not accepting water fast enough, or drainage is failing — switch to shorter cycles, improve soil structure, and inspect grading or drainage before increasing runtime.
A slope is steep enough that water moves downslope within minutes: Runoff will beat infiltration — use cycle-and-soak, lower-precipitation devices, terracing, or drip in planted areas instead of standard spray.
Roots from large trees dominate the bed within the top 6–12 inches: The irrigation target is no longer just your plants — relocate emitters farther out, widen the wetting pattern, or choose plant material that tolerates root competition.
Plants with very different water needs share one valve: Any schedule will overwater one group — re-zone the system rather than trying to split the difference with timing.
Hardware depends on misting spray in hot, windy exposure: Wind drift and evaporation will erase efficiency — replace spray with rotary nozzles, drip, or reorient the planting to reduce exposure.
You cannot access or identify the main shutoff, backflow device, or valve box confidently: The system is not simple enough for guesswork — stop and map the infrastructure first, because a wrong cut can turn a water-saving job into a flood.
The landscape is mostly turf in full sun with compacted fill soil: Water-saving irrigation alone will not fix high demand — reduce turf area, aerate or amend the soil carefully, and consider replacing some lawn with lower-water planting.
The controller is old, nonfunctional, or locked to a commercial schedule you cannot change: The system cannot be tuned properly — repair or replace control equipment before trying to optimize water use.
Ignore those stop signs, and the result is predictable: wasted water, stressed plants, and a system that looks “upgraded” but performs worse. If the site needs grading, drainage, or a replanting plan, irrigation comes after those fixes, not before them.
What changes